


Can You Put Contact Paper On Textured Walls
Can You Put Contact Paper on Textured Walls? Find out the Best Strategies for Applying Contact Paper on Textured Walls
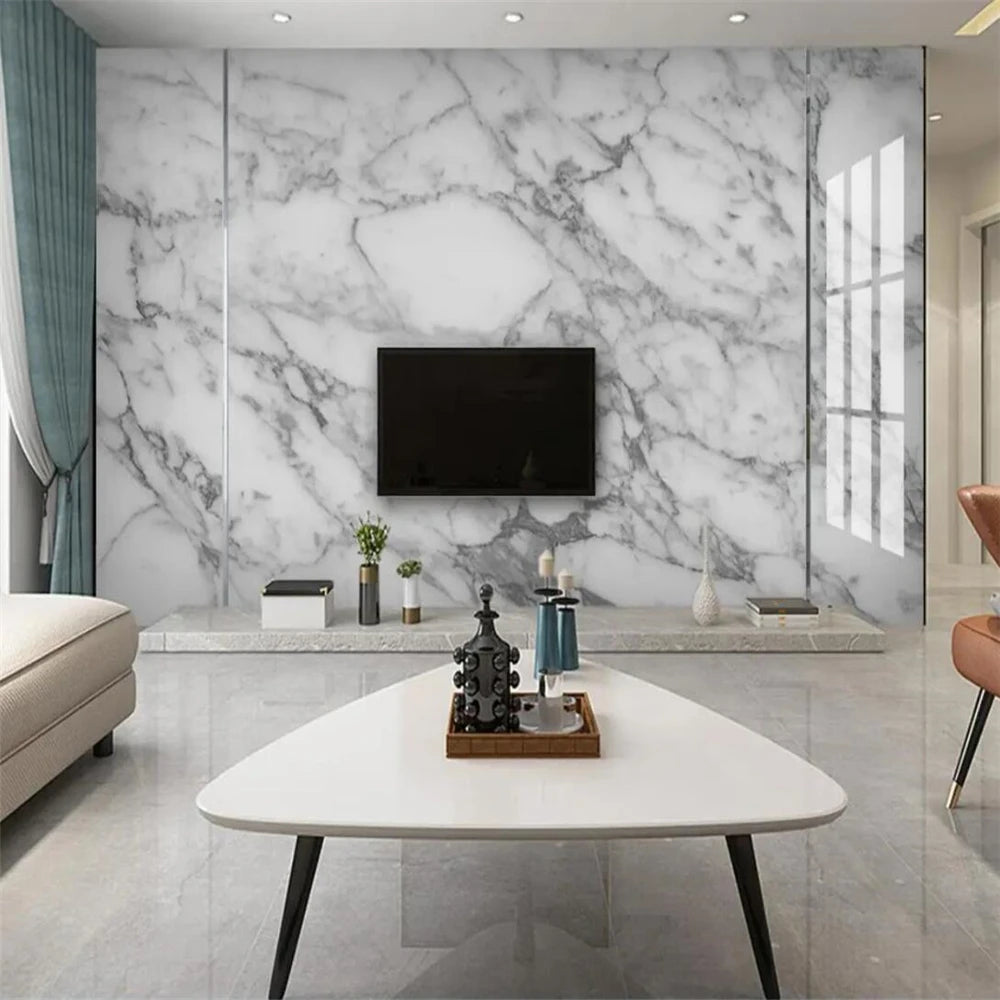
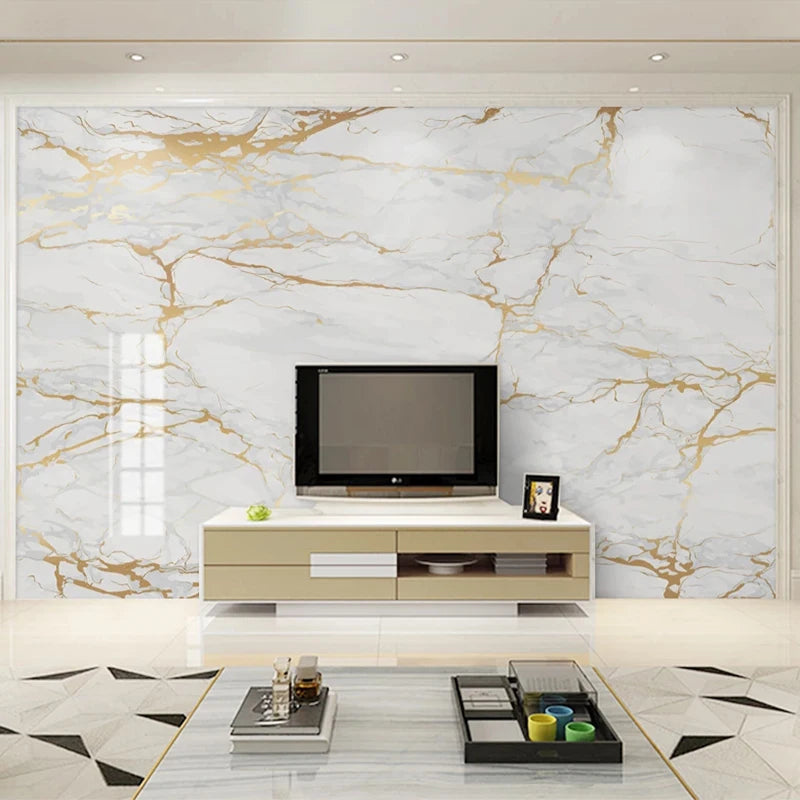
Choosing the Right Contact Paper for Textured Walls
When it comes to applying contact paper on textured walls, choosing the right type of contact paper is crucial for achieving a smooth and long-lasting result. Look for contact paper that is specifically designed for textured surfaces. These types of contact paper have a thicker adhesive backing and can conform to the bumps and grooves of textured walls. Additionally, opt for a design or pattern that can help camouflage any unevenness or imperfections in the texture of your walls.
Before applying contact paper, it's important to clean and prepare your textured walls properly. Use a mild soap and water solution to remove any dust, dirt, or grease from the surface. Allow the walls to dry completely before moving on to the next step. This will ensure a strong and durable bond between the contact paper and the textured walls.
Applying Contact Paper on Lightly Textured Walls
If you have lightly textured walls, the process of applying contact paper is relatively simple. Start by measuring and cutting the contact paper to the desired size, allowing for a slight overlap on each side. Peel off a small portion of the backing and slowly press the contact paper onto the wall, smoothing out any air bubbles or wrinkles as you go. Use a squeegee or a credit card to firmly press the contact paper onto the textured surface, ensuring a strong bond. Continue this process until the entire wall is covered with contact paper.
When dealing with lightly textured walls, it's important to be patient and take your time during the application process. Smooth out any air bubbles or wrinkles as you go and make adjustments as needed. Remember, the contact paper is flexible and can conform to the texture of your walls, giving you a seamless and attractive finish.
Applying Contact Paper on Heavily Textured Walls
If you have heavily textured walls, applying contact paper may require some additional steps to ensure a successful installation. Before starting the application process, it's recommended to use a primer or a wallpaper liner to create a smoother surface for the contact paper. This will help minimize the visibility of the texture and provide a better adhesive surface for the contact paper.
After applying the primer or wallpaper liner, measure and cut the contact paper to the desired size, allowing for a slight overlap on each side. Peel off a small portion of the backing and slowly press the contact paper onto the wall, smoothing out any air bubbles or wrinkles as you go. Use a squeegee or a credit card to firmly press the contact paper onto the textured surface.
Due to the heavier texture, heavily textured walls may require more time and effort during the application process. Ensure that the contact paper firmly adheres to the textured surface and make any necessary adjustments along the way. Take your time and be patient for a professional-looking result.
Tips and Tricks for a Successful Contact Paper Application on Textured Walls
1. Test a small area: Before committing to covering an entire wall with contact paper, try a small test area first. This will help you determine if the contact paper sticks well to your specific type of textured walls.
2. Use a hairdryer: If you encounter stubborn air bubbles or wrinkles, using a hairdryer on a low heat setting can help soften the contact paper and make it more pliable. This will allow you to smooth out any imperfections more easily.
Removing Contact Paper from Textured Walls
When it comes time to remove the contact paper from your textured walls, it's important to proceed with caution to avoid damaging the surface. Start by peeling off a corner of the contact paper and slowly pull it back at a 45-degree angle, applying gentle pressure. If the contact paper is difficult to remove, use a hairdryer on a low heat setting to loosen the adhesive. Be patient and take your time to prevent any damage to the texture of the walls.

Benefits of Using Contact Paper on Textured Walls
Using contact paper on textured walls offers several benefits. It allows you to transform the look of your walls without the need for expensive and time-consuming renovations. Contact paper is also a great option for renters who want to personalize their space without permanently altering the walls. Additionally, contact paper is easy to clean and maintain, making it a practical choice for high-traffic areas.
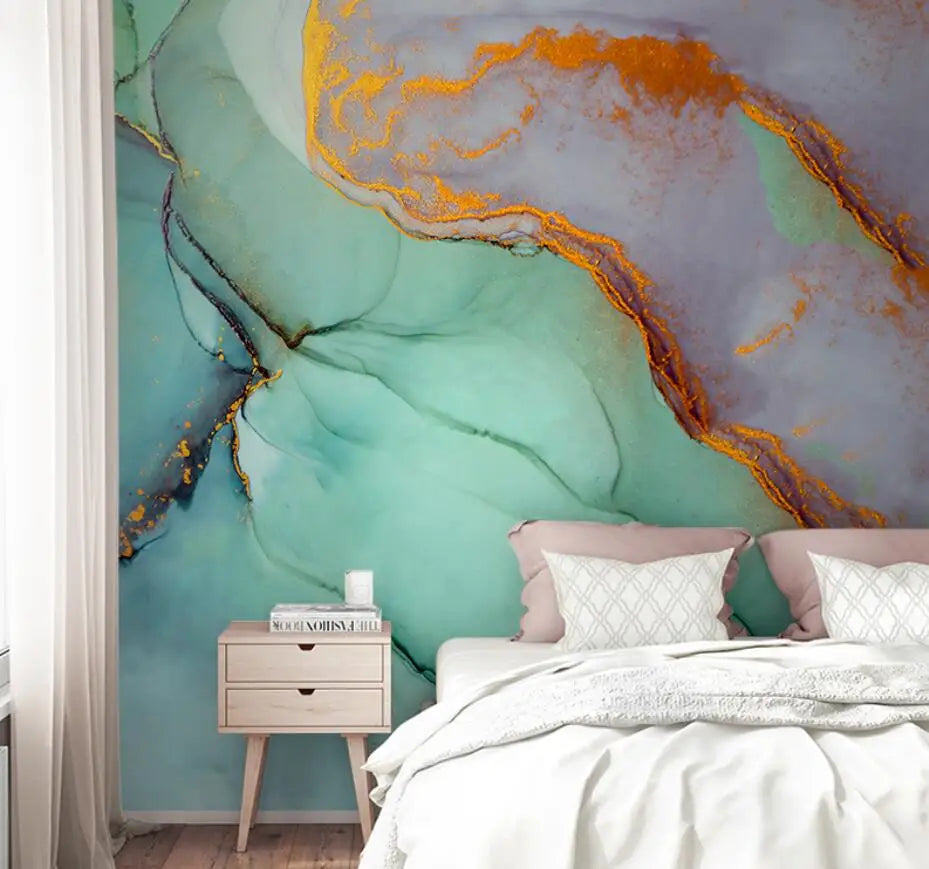
The Endless Possibilities with Contact Paper on Textured Walls
Applying contact paper on textured walls opens up a world of possibilities for your home decor. Whether you want to add a pop of color, create a sleek and modern look, or mimic the appearance of more expensive materials, contact paper can help you achieve your desired aesthetic. With an array of designs and patterns available, you can easily transform any room and make your textured walls a stylish focal point.
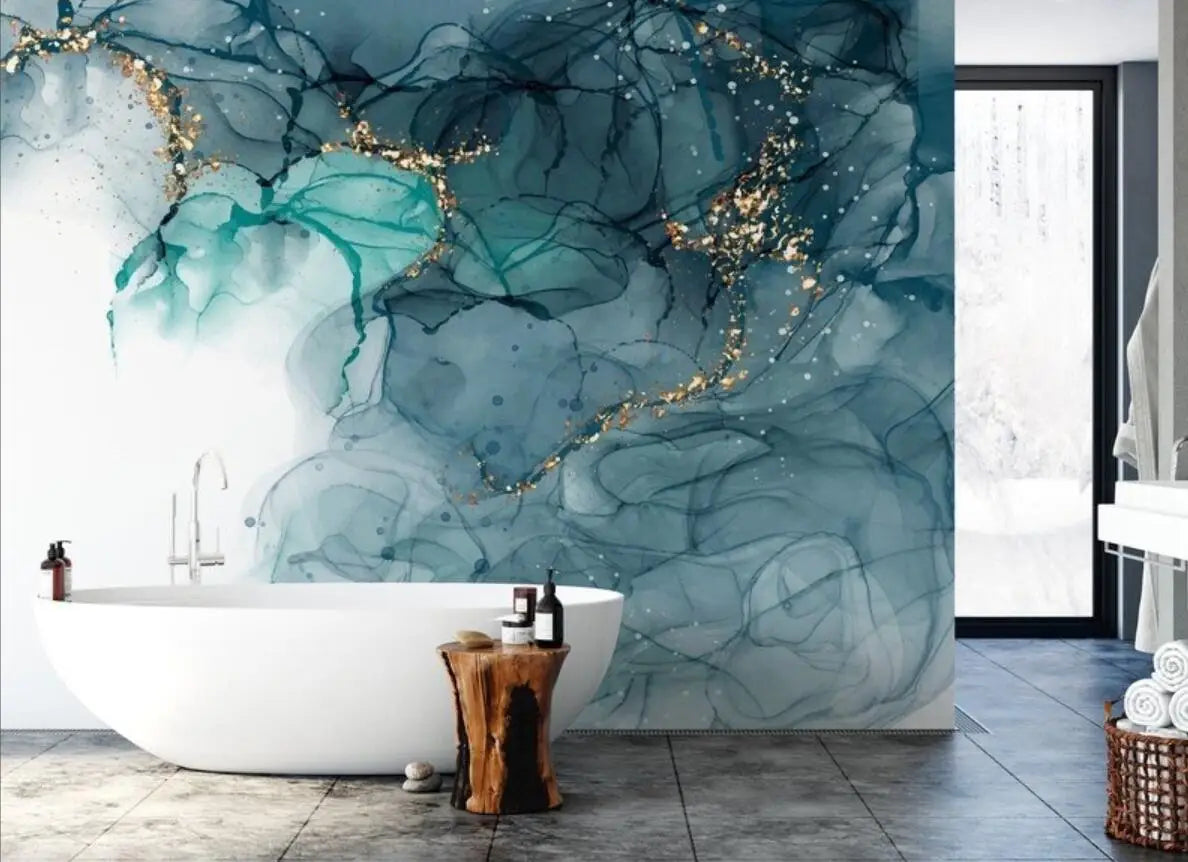
Creating a Accent Wall
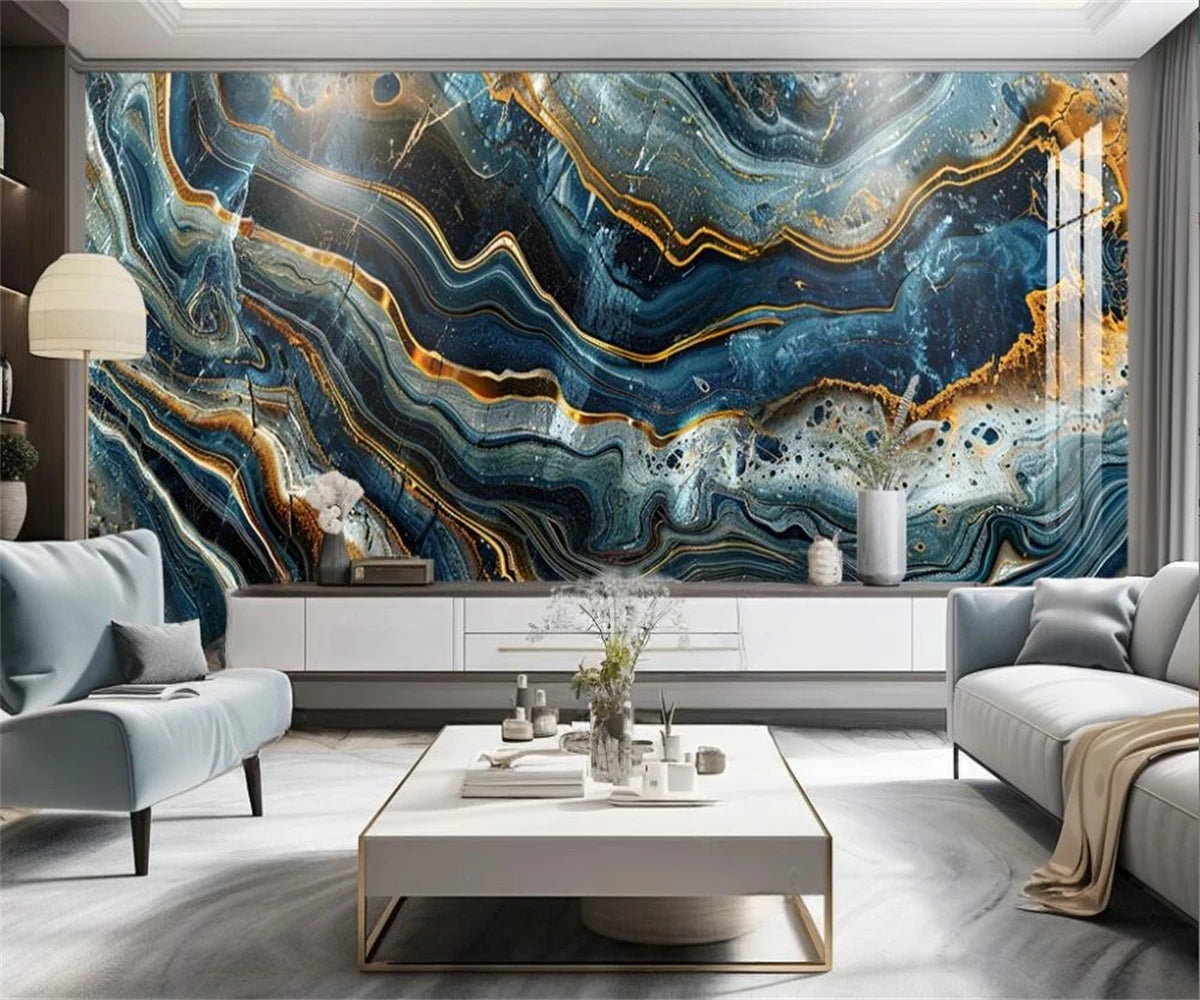
One popular way to use contact paper on textured walls is by creating an accent wall. Choose a bold and eye-catching design or pattern and apply it to one wall of a room. This will instantly draw attention and create a focal point in the space. Accent walls are particularly effective in living rooms, bedrooms, and dining areas, where they can add personality and visual interest to the overall design.
Consider using geometric patterns, botanical prints, or textured metallic contact paper to create a stunning accent wall. The options are endless, and you can easily change the look whenever you want by simply removing the contact paper and applying a new design.
Adding Interest to Small Spaces
Small spaces can often feel dull and uninspiring. However, by using contact paper on textured walls, you can instantly add interest and dimension to these areas. Consider applying a subtle and textured contact paper to the walls of a small powder room for a sophisticated and luxurious look. The texture will give the illusion of depth and create a visually captivating space.
Don't be afraid to get creative with your color and pattern choices. Experiment with different styles and textures to find the perfect combination that will transform your small space into a stylish and inviting oasis.
Conclusion
Discover the amazing possibilities of using contact paper on textured walls. By choosing the right type of contact paper and following the proper application techniques, you can create a stunning and personalized look for your home. Whether you want to cover a lightly textured wall or tackle the challenge of heavily textured walls, the key is to be patient and take your time during the installation process. With a little effort and creativity, you can achieve a beautiful and seamless finish that will impress anyone who enters your space.


