


How To Remove Wall Paper
How to Remove Wallpaper: A Step-by-Step Guide for a Hassle-Free Experience
Preparing for Wallpaper Removal
Before diving into removing wallpaper, it's essential to prepare yourself and the area properly. Start by gathering the necessary tools, such as a scoring tool, wallpaper steamer, putty knife, and a sponge. Clear the room of furniture and cover the floor with drop cloths to protect it. You should also ensure that the walls are clean and free of any dust or debris.
Next, start by scoring the wallpaper with the scoring tool. This helps the wallpaper removal solution penetrate and loosen the adhesive. Once scored, apply the wallpaper removal solution to the walls using a sponge or a spray bottle. Allow the solution to soak in for a few minutes, making sure not to oversaturate the wallpaper. Once the adhesive has softened, you can start removing the wallpaper.
Using a Putty Knife
If you're dealing with vinyl or peelable wallpaper, using a putty knife can be an effective method. Start by gently lifting the wallpaper at the seams with the putty knife. Once you have a good grip, slowly pull the wallpaper away from the wall in a downward motion. Be careful not to damage the underlying surface while removing the wallpaper. If you encounter stubborn areas, you can use the putty knife to gently scrape off the remaining wallpaper.
If you have wallpaper with a paper backing, using a putty knife may not be as effective. In such cases, it's better to use a wallpaper steamer.
Using a Wallpaper Steamer
For wallpaper with a paper backing, using a wallpaper steamer can make the removal process much easier. Start by filling the steamer with water and allowing it to heat up. Hold the steamer plate against the wallpaper for about 30 seconds, then move it to the next section. Continue this process until the adhesive softens, and the wallpaper can be easily peeled away.
Be cautious while using the wallpaper steamer, as it can generate hot steam. Make sure to wear protective gloves and goggles to avoid any injuries.
Once you have removed all the wallpaper, use a sponge to wipe down the walls and remove any residual adhesive. Allow the walls to dry completely before moving on to the next step.
Repairing and Preparing the Walls
After removing wallpaper, it's common to find minor damages or imperfections on the walls. It's important to address these issues before proceeding with painting or applying new wallpaper. Start by filling any holes or cracks using spackle or a suitable wall filler. Smooth out the surface using a putty knife and let it dry according to the manufacturer's instructions.
Next, sand the walls to create a smooth and even surface. Use a sanding block or sandpaper to remove any rough edges or bumps. Wipe the walls with a clean, damp cloth to remove any dust or debris. Once the walls are repaired and prepared, you can proceed with your desired wall treatment.

Painting the Walls
If you decide to paint the walls after removing wallpaper, make sure to apply a primer before painting. This will help the paint adhere better to the surface and provide a more even finish. Choose a high-quality paint and apply it using a roller or a brush, depending on the size of the area. Allow the paint to dry completely between coats, and apply additional coats as necessary for full coverage.
Remember to protect the floor and any furniture while painting and follow the manufacturer's instructions for drying and curing times.
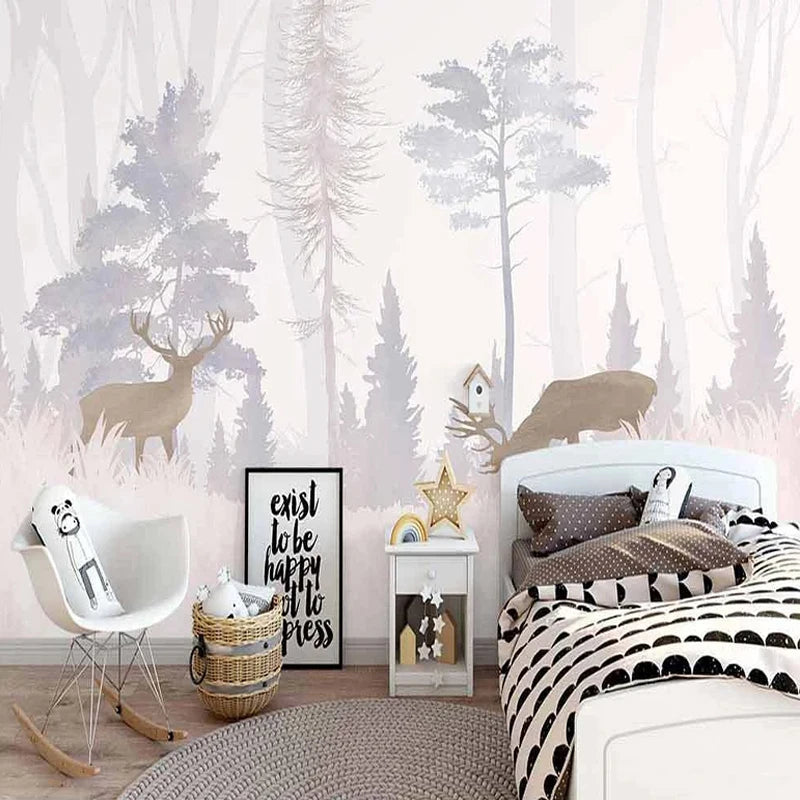
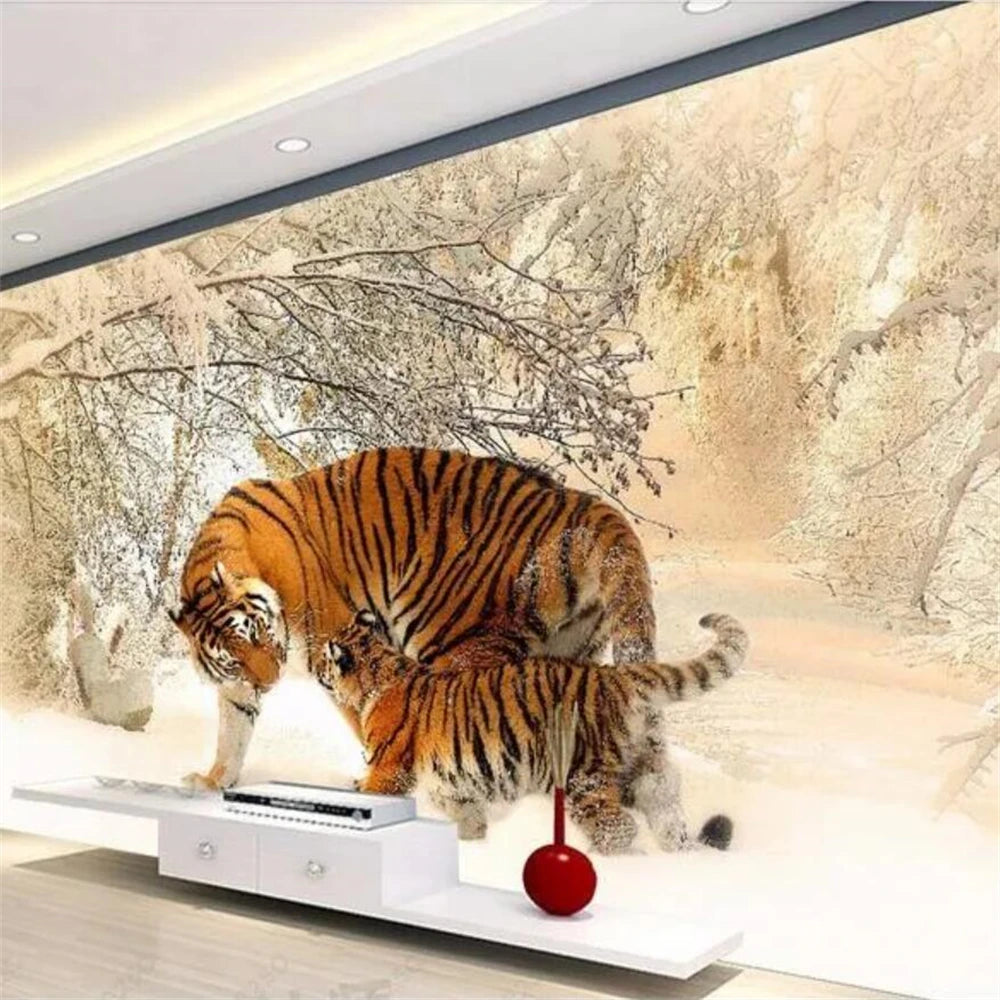
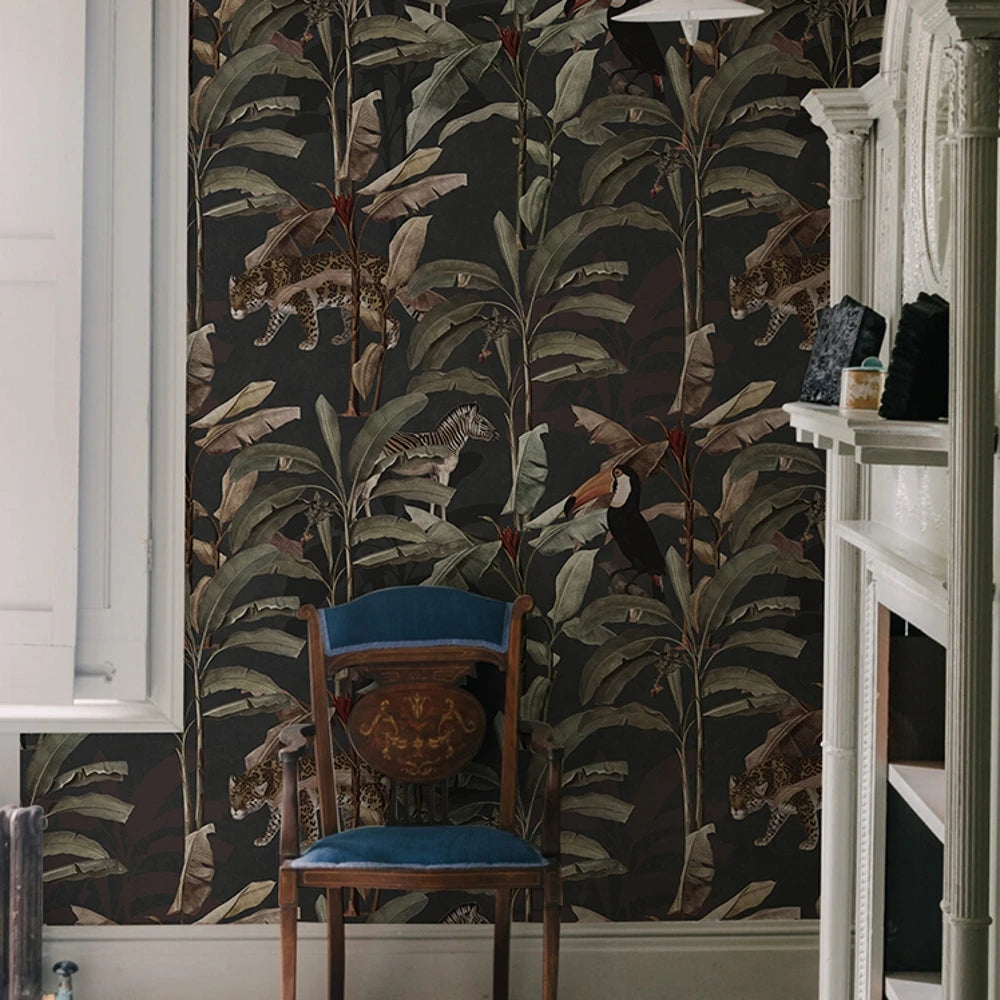
Applying New Wallpaper
If you wish to apply new wallpaper after removing the old one, ensure that the walls are smooth and free of any adhesive residue. Measure and cut the new wallpaper according to the dimensions of the walls, leaving a few extra inches at the top and bottom for trimming. Apply wallpaper adhesive to the back of the wallpaper using a roller or a brush.
Start applying the wallpaper at the top, carefully aligning the pattern and smoothing out any air bubbles or wrinkles. Use a wallpaper smoother or a plastic spatula to remove any excess adhesive and ensure proper adhesion. Trim off the excess wallpaper using a sharp utility knife or a wallpaper trimmer. Allow the wallpaper to dry according to the manufacturer's instructions before reassembling the room.
Cleaning Up and Final Thoughts
After completing the wallpaper removal and the subsequent wall treatment, it's important to clean up the area thoroughly. Remove any drop cloths or protective coverings from the floor and return the furniture to its original position. Dispose of the removed wallpaper and any other waste properly.
Take a moment to admire your newly refreshed walls and appreciate the effort you put into transforming the space. Removing wallpaper can be a daunting task, but with the right tools and techniques, it can be a satisfying DIY project that breathes new life into your home.
In conclusion, removing wallpaper might seem like a challenging task, but by following a systematic approach and using the right tools, it can be a relatively smooth process. Whether you decide to paint the walls or apply new wallpaper, the key lies in thorough preparation and proper execution. Take your time, be patient, and enjoy the journey of creating a fresh and updated look for your living space.


